How to Replace Shower Drain
The sewer reaction problem is very common in this decoration, it can’t be solved very well, the bathroom sewer reaction is resulted from shower drains, even some shower drains have sewage the overflow and bug infested. If the shower drain doesn’t work, then there is no hinder between sewer and inside room, then the bad smell and poisonous gas in the sewer would overflow from the sewer, and spread in the room. Next Homerises would introduce you the knowledge about shower drain replacement and installation.
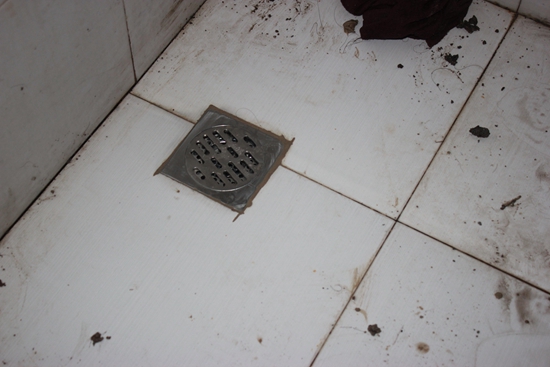
1. This is the finished effect that replacing the square shower drain, you can check it, it has been finished installation without cleaning up, pls understand.
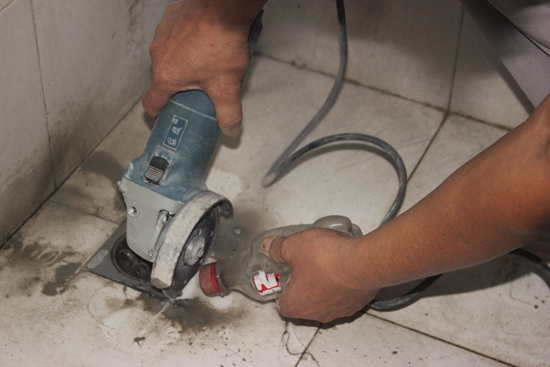
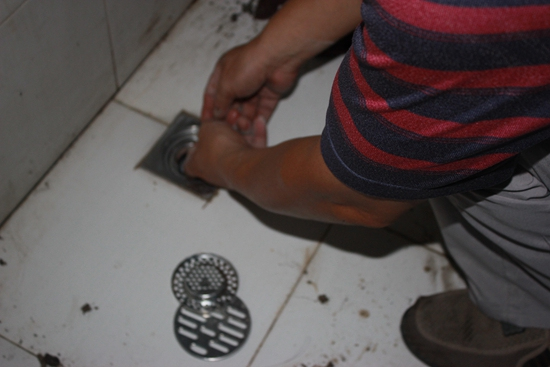
2. At first, you have to remove the shower drain cover and strainer, then we can cut bar by the floor title, then take it out, that is necessary step to clean the shower drain.
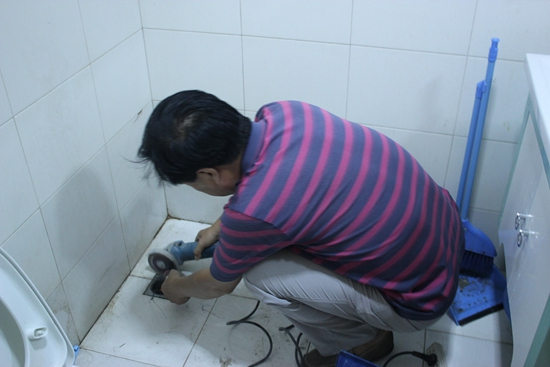
3. When cutting it down, the spray would help finish cutting in a straight line, the spray is a good tool, since when cutting, you can not see it clearly that is helpful.
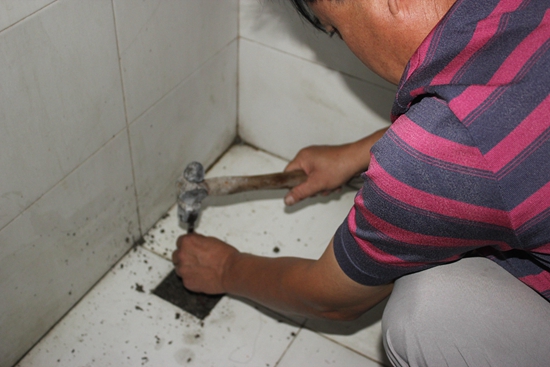
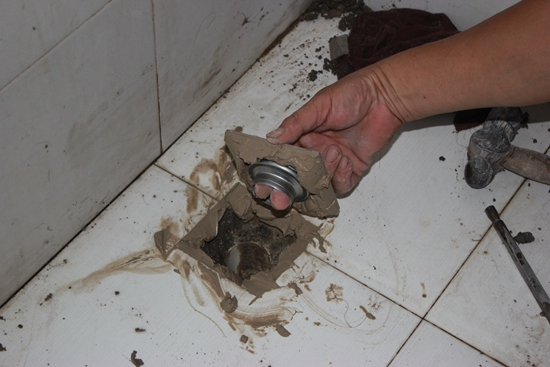
4. After finishing cutting down, we can use hammer to beat the shower drain and cutting part, that could make the shower drain and floor tile start, that could make it more easier to replace the shower drain.

5. When you take it down, we may find there are much sundries on the shower drain, that has clogged shower drain, that could lead that not smooth of bathroom and a peculiar smell. Please click the How to unclog a shower drain.

6. Please leave the shower drain alone, and find the cleaning cloth to put into the sewer, it is plug sealed and prevents the cement and grain of sand from falling down, that would clog the sewer.

7. Clean up the grain of sand, cement and etc, as to the cleaning of hair, then it needs shower drain hair catcher, it is helpful to clean the dirty and hair.
8. Take out of the duster cloth after finishing the cleaning of the sewer, then put the shower drain and check the position of shower drain is right or wrong.

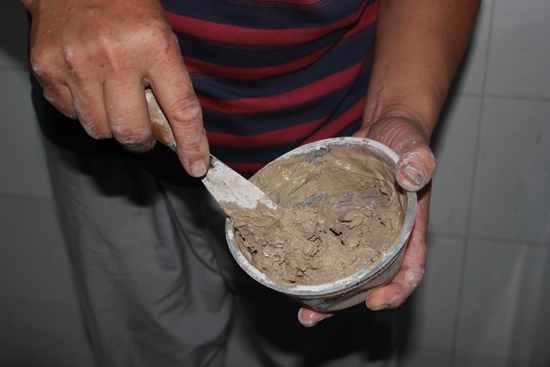
9. If it is without problem, then you can take out of impermeable material, we had better use the waterproof material for this, otherwise the water is likely to seep into next layer.

10. Then we can use the waterproof material which has been mixed very well to paint in the groove and around the new shower drain, then the shower drain could not be damaged very easily.
11. Next we can put the shower drain into the groove, at the same time notice of that the position of groove is around 1mm lower than the around floor.

12. About ten minutes later, you can put the filter axis which has been dipped in the water into the base of shower drain, then turn it appropriately to combine silicone around the filter axis with base totally.
13. Then put on the strainer and clean up at the nearby shower drains, that is finished.

14. The above is the steps of replacing shower drains, hope this could help you a little in the daily life.
Related Products
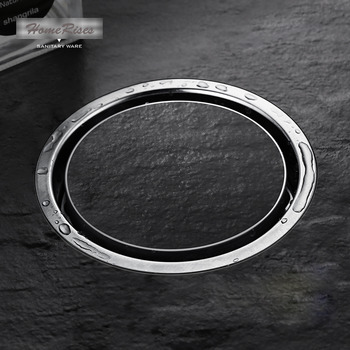 Round |
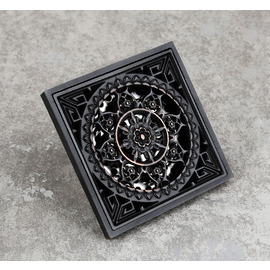 Square |
 Rectangular |